This is one of my favorite displays, and I usually do this at the end of the year. Save the best for last!
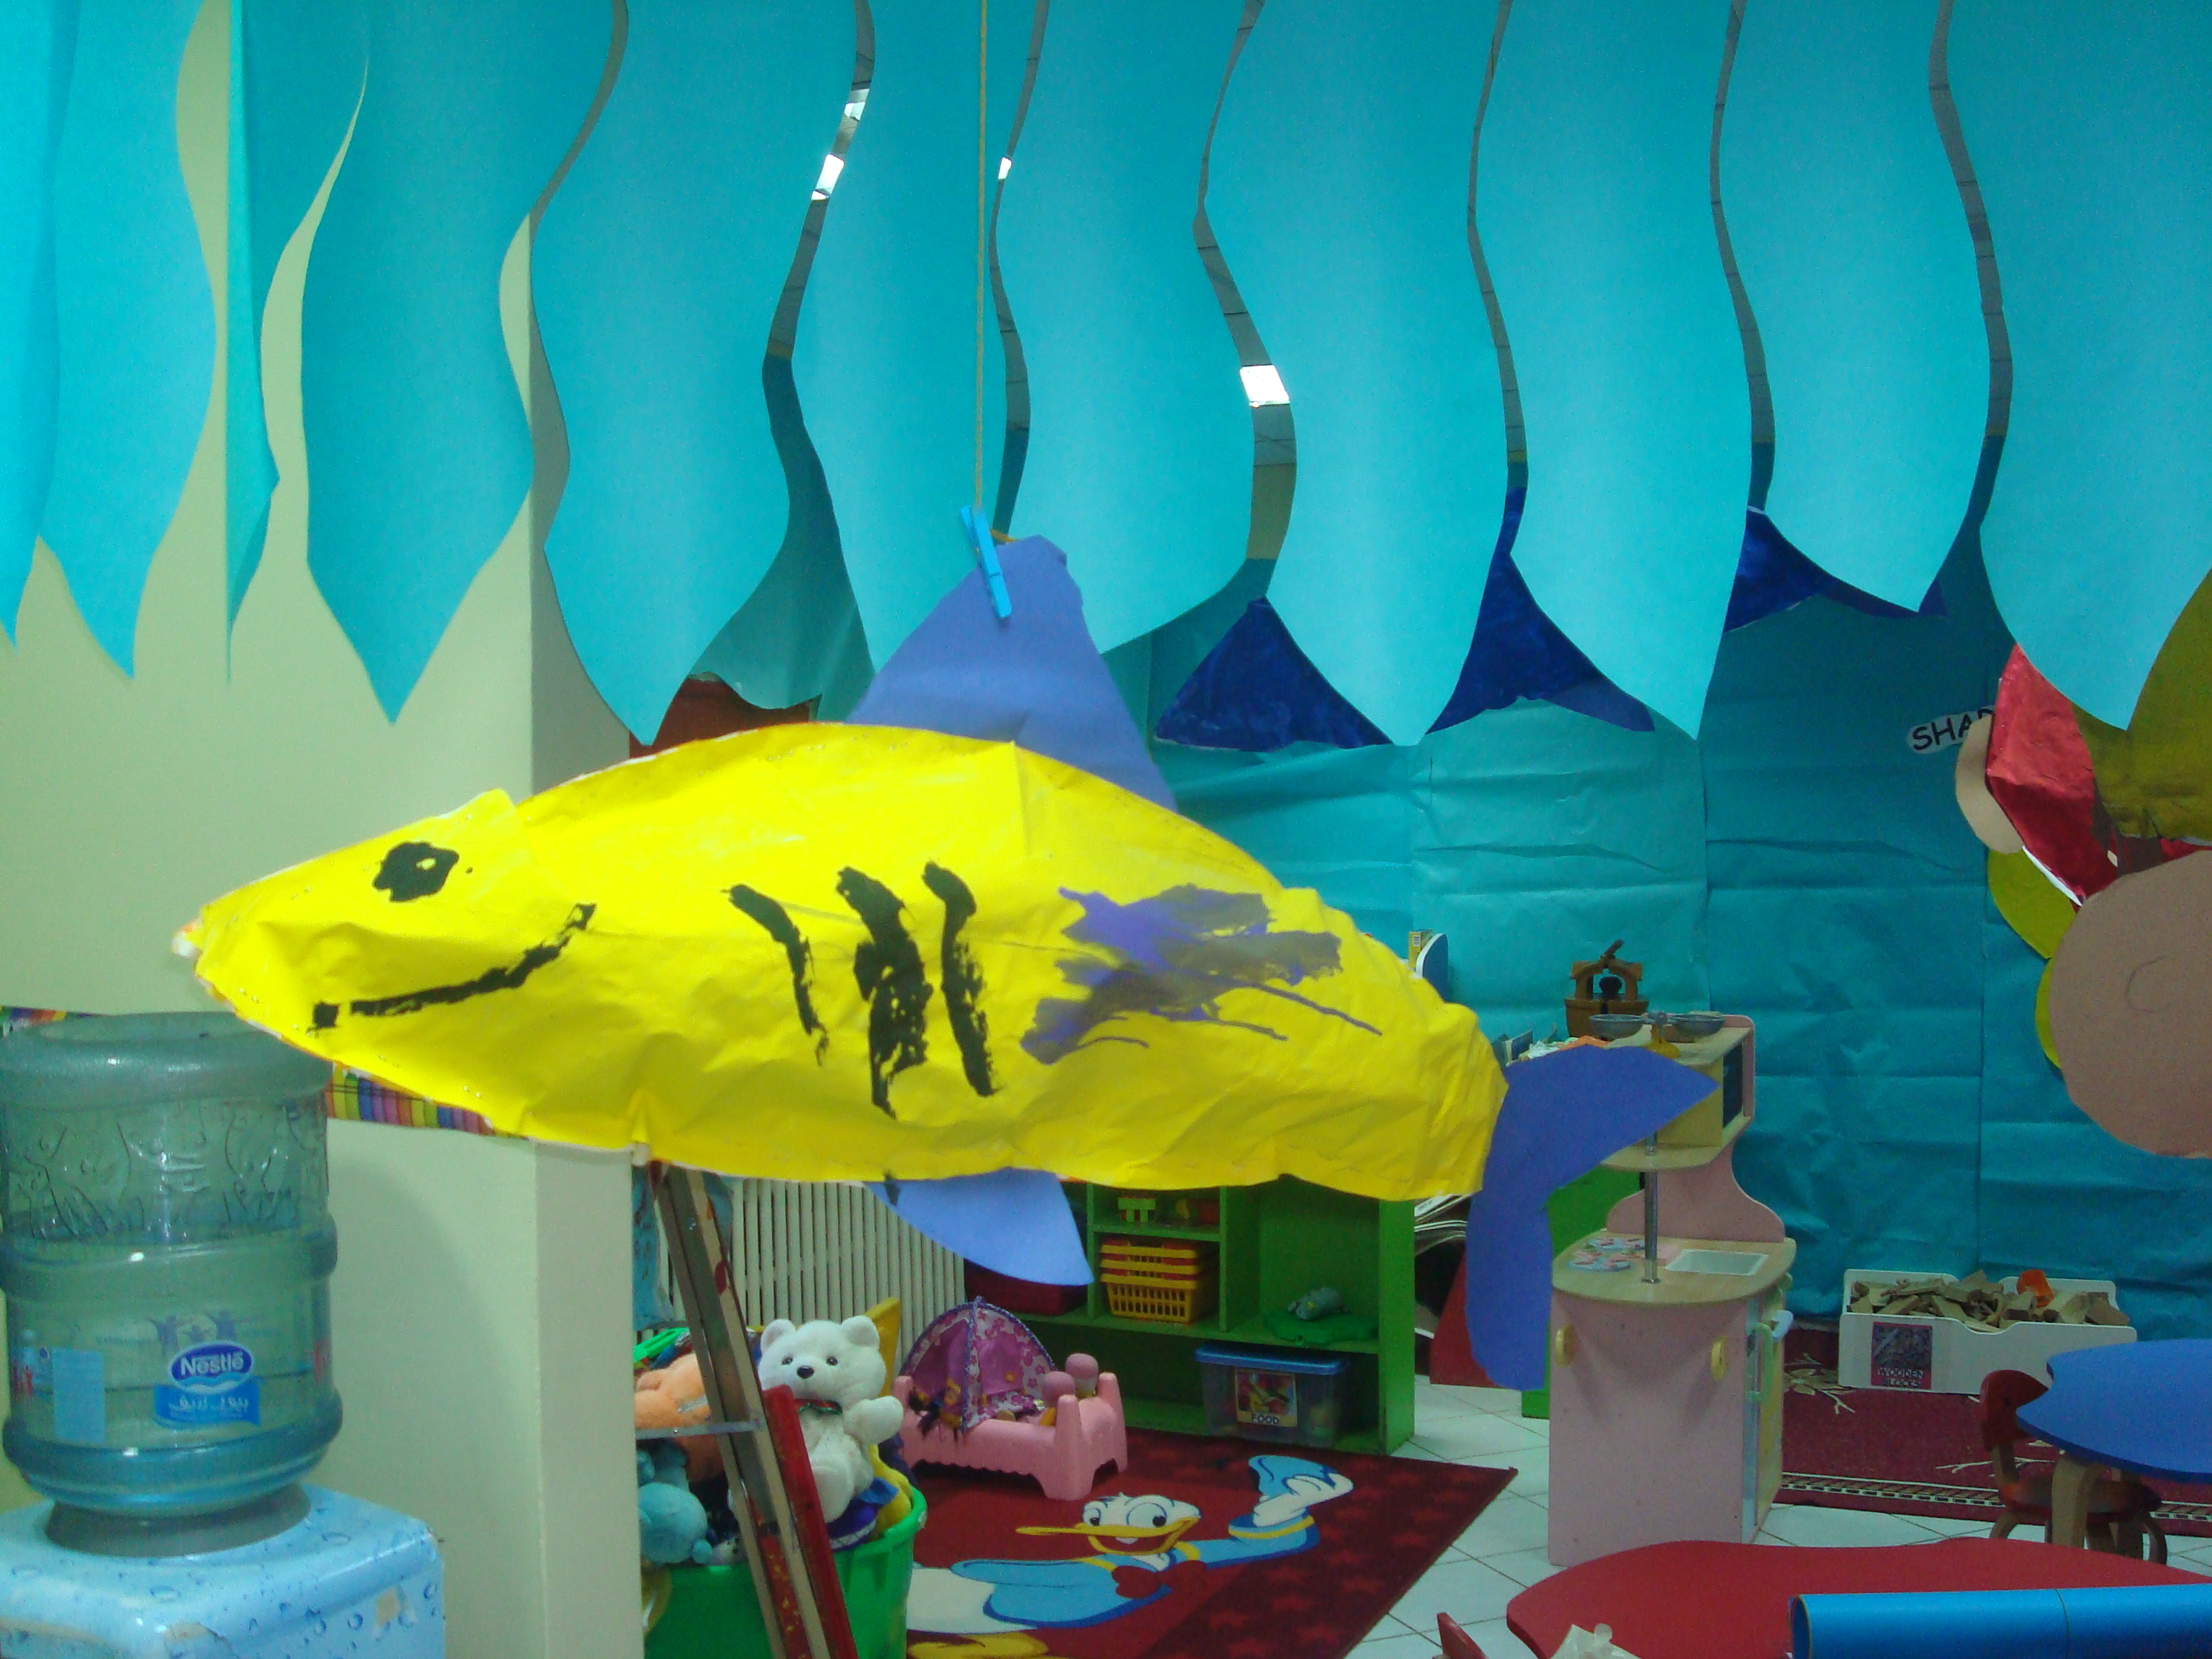
As part of our ocean theme we transform our hallway into an ocean. The children are always amazed and excited when they see their sea creatures swimming in their ocean for the first time.
It takes about a week to put together but it is worth it!
What to prep:
After introducing the theme and looking at the different sea creatures that live in the ocean, I show the children various pictures of sea creatures and ask them to choose their favorite. After the children leave, I cut out two sides to each creature they chose from white butcher paper. You can make them as big as you want but for me the bigger the better.
Tips:
1. Cut the two sides of each sea creature together so that they are as identical as possible. I free draw them first.
2. Clip the two sides together and write the child’s name on the inside of each piece. This way you can guarantee the children are painting the right sides.
3. I can not cut straight lines so I cut wavy lines instead. Cant go wrong with wavy lines, trust me!
4. Make sure you have a large surface to dry them on. I usually put the wet papers outside to dry and place a small rock on each one so that they do not fly away.
5. When they are dry, make sure you keep each child’s two sides together. This will make it easier when stapling them together.
6. Aprons are a must for the next activity. I also prefer to cover the tables with recycled paper because it is a messy activity.
It’s the children’s turn:
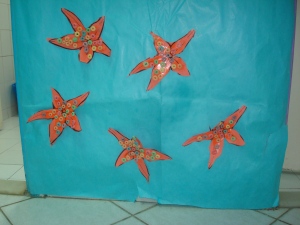
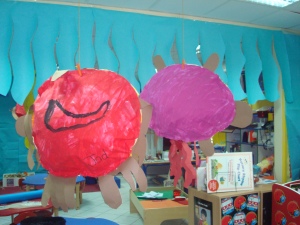
Have each child paint the two sides of their sea creature ( I prefer each creature to be one color but multi colors will work too ). Once they are dry staple the sides together leaving an areas open for the other parts and a larger area open for the children to stuff with recycled paper. As the children finish stuffing their creatures staple them shut.
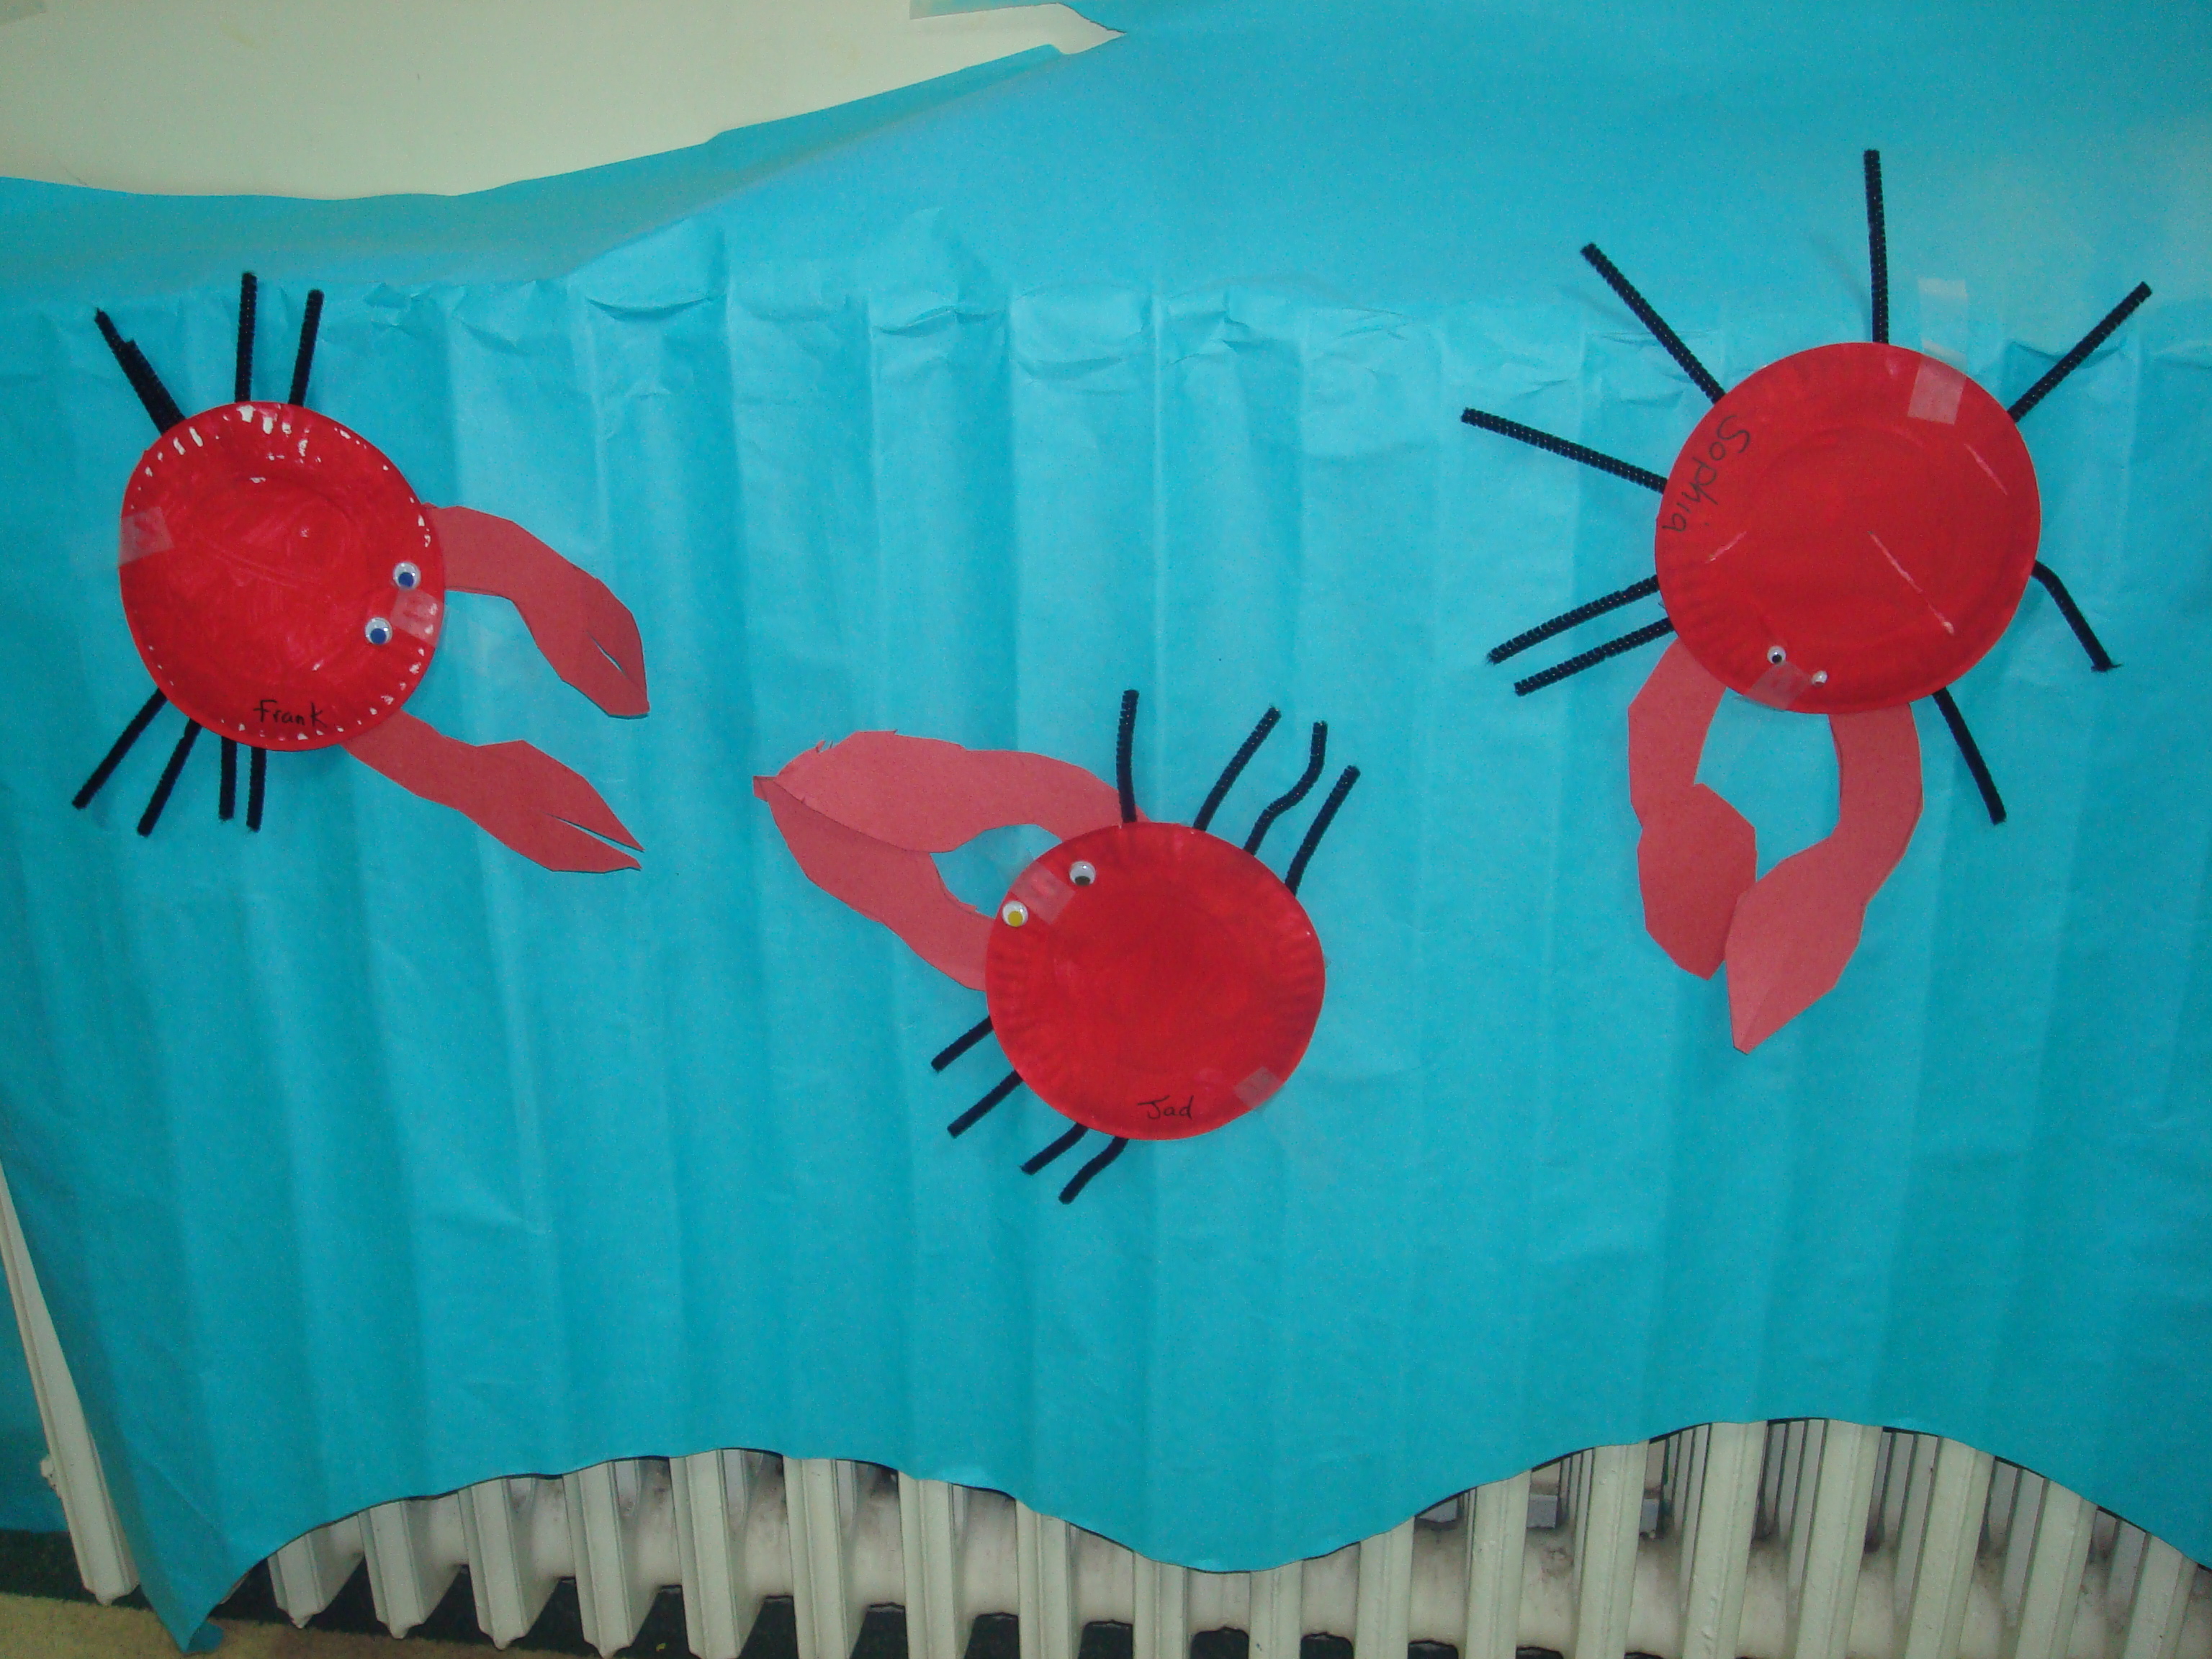
While some children are stuffing their creatures, have another center where the children can cut out the extra parts to add to their creatures such as legs, fins, tails, and heads. They also add the eyes and mouth with black paint. Please note the following pictures were taken in my old classroom which was small and was easy to transform into an ocean.


It’s your turn: ( you will need help)
I always chose the day before the weekend and after the children leave to put up the ocean. I start by covering the walls with blue butcher paper. You need heavy duty tape which is applied to the back of each piece of paper. After the paper is up, we hang up the sea creatures by tying a paper clip to each end of a strand of yarn. One end of the yarn is attached to the ceiling and the other is attached to the sea creature. ( I keep these strand of yarn up all year and just change what is hung on them, make sure you have one for each child. )
Adding details:
Throughout the month of the ocean theme, the children make various crafts. I like to add some crafts to the ocean as the children make them.